- date
- 02-2024
- tags
- #home-diy
Designing and making a giant plywood pegboard might be a niche, it was not easy to find information about it. Here's what I've learned from building a plywood pegboard like this.
Problem
The HPL board wall with aluminum frame is not so flattering on video conferences in our home office space.
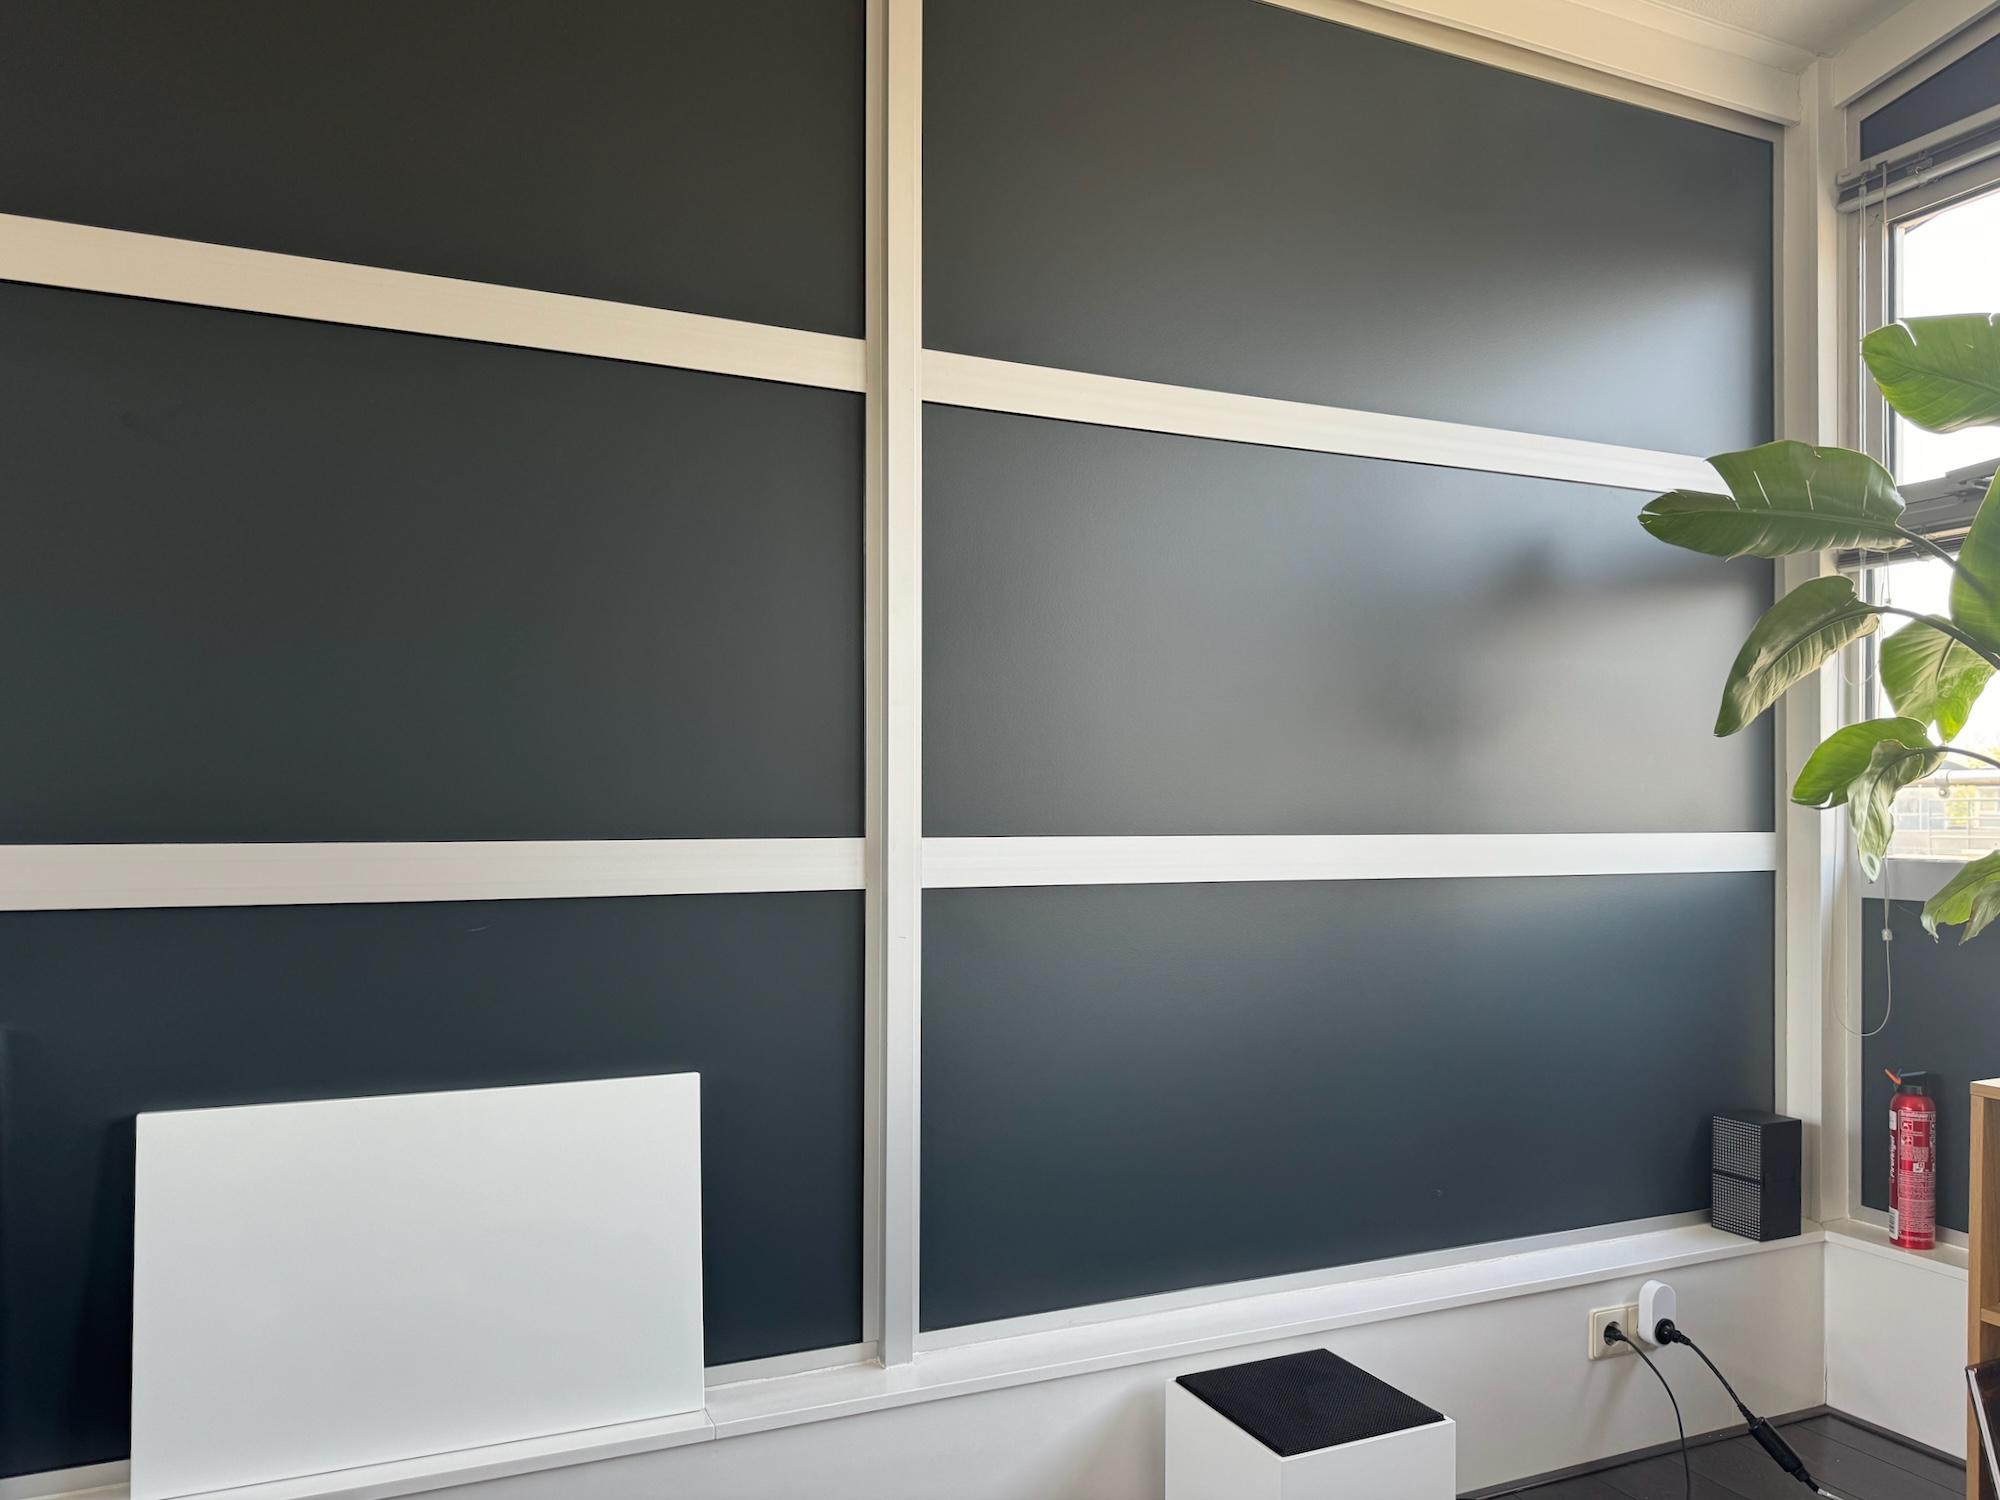
Further more, this is a thin external wall, and HPL is tricky to drill. Adding fixtures onto it will be a irreversible process where a lot can go wrong.
Design
Installation
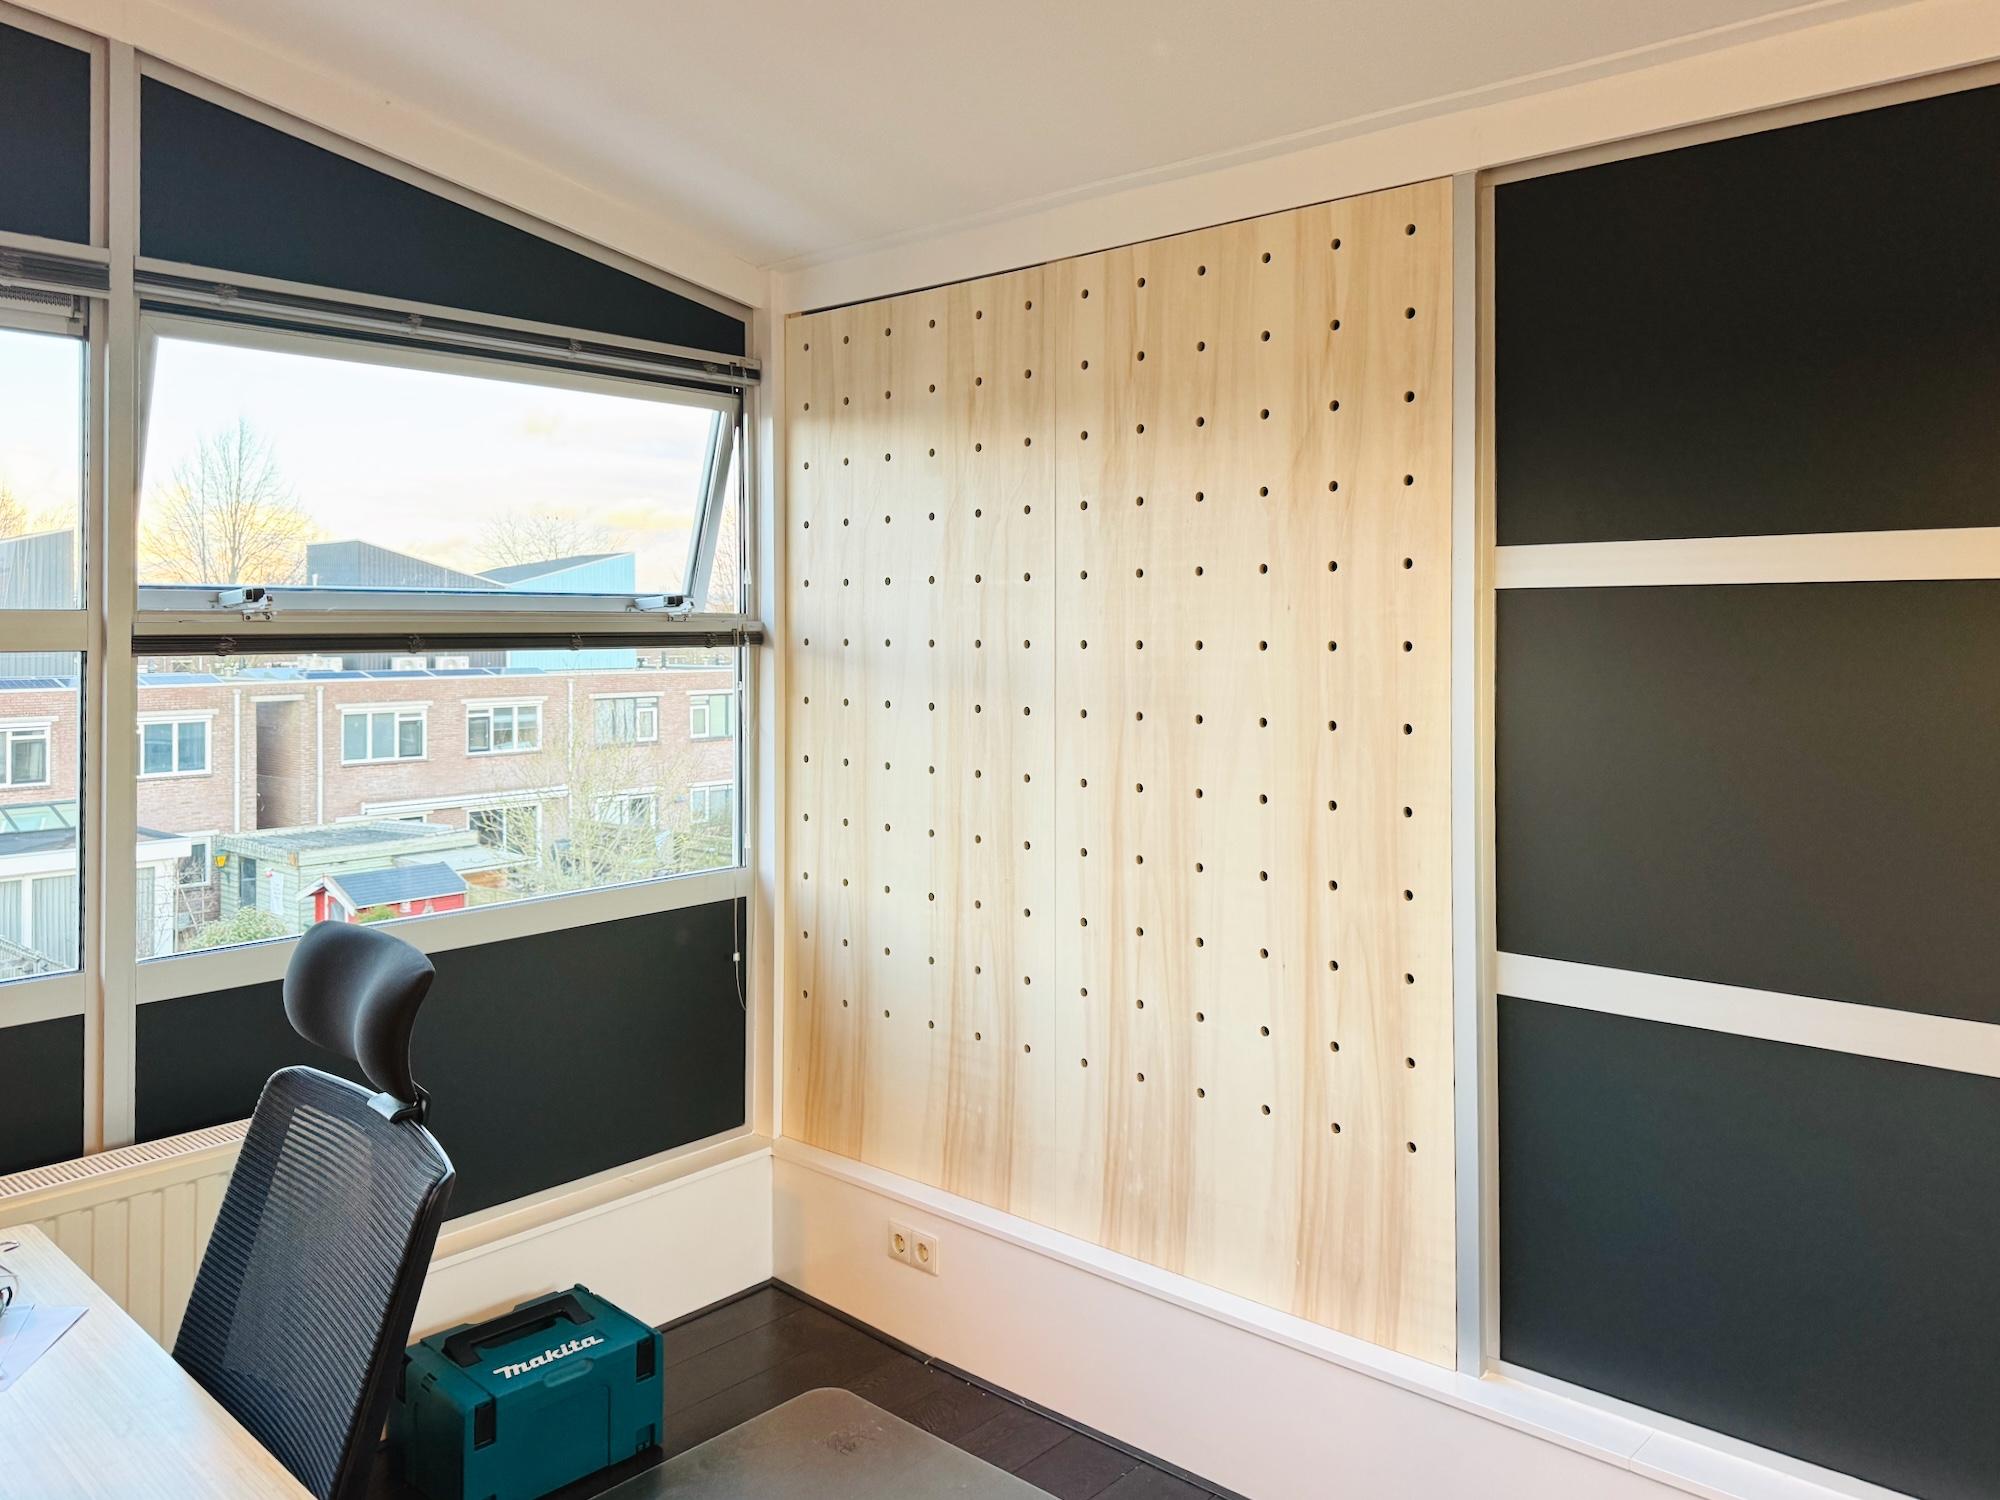
Due to the special structure around the wall. I realized that I can use the cove to support the pegboards. There's a long slot that runs along the ceiling, Inserting the backing of the boards will prevent the board from falling over.
To make the board flush with the ceiling structure, the boards are backed with two long beams that is cut from the same material to act as extra support and the insertion part.
If extra stability is needed, fixing the boards to the cove with brackets, or adding a rail to prevent the feet from sliding forward could help.
Material
15mm thick regular plywood is used for the project. 18mm makes the board stronger and is quite standard, but the slot is also exactly 18mm, to avoid risking slight adjustment 15mm is chosen.
The full name of the material is called Kuiper Poplar Plywood. The weight difference between 15mm and 18mm is 1.26kg/m2, in the size of this project it makes the boards slightly easier to handle.
Dimension
The space is 196cm tall, and 170cm wide. It can be split into two boards of 196cm x 85cm.
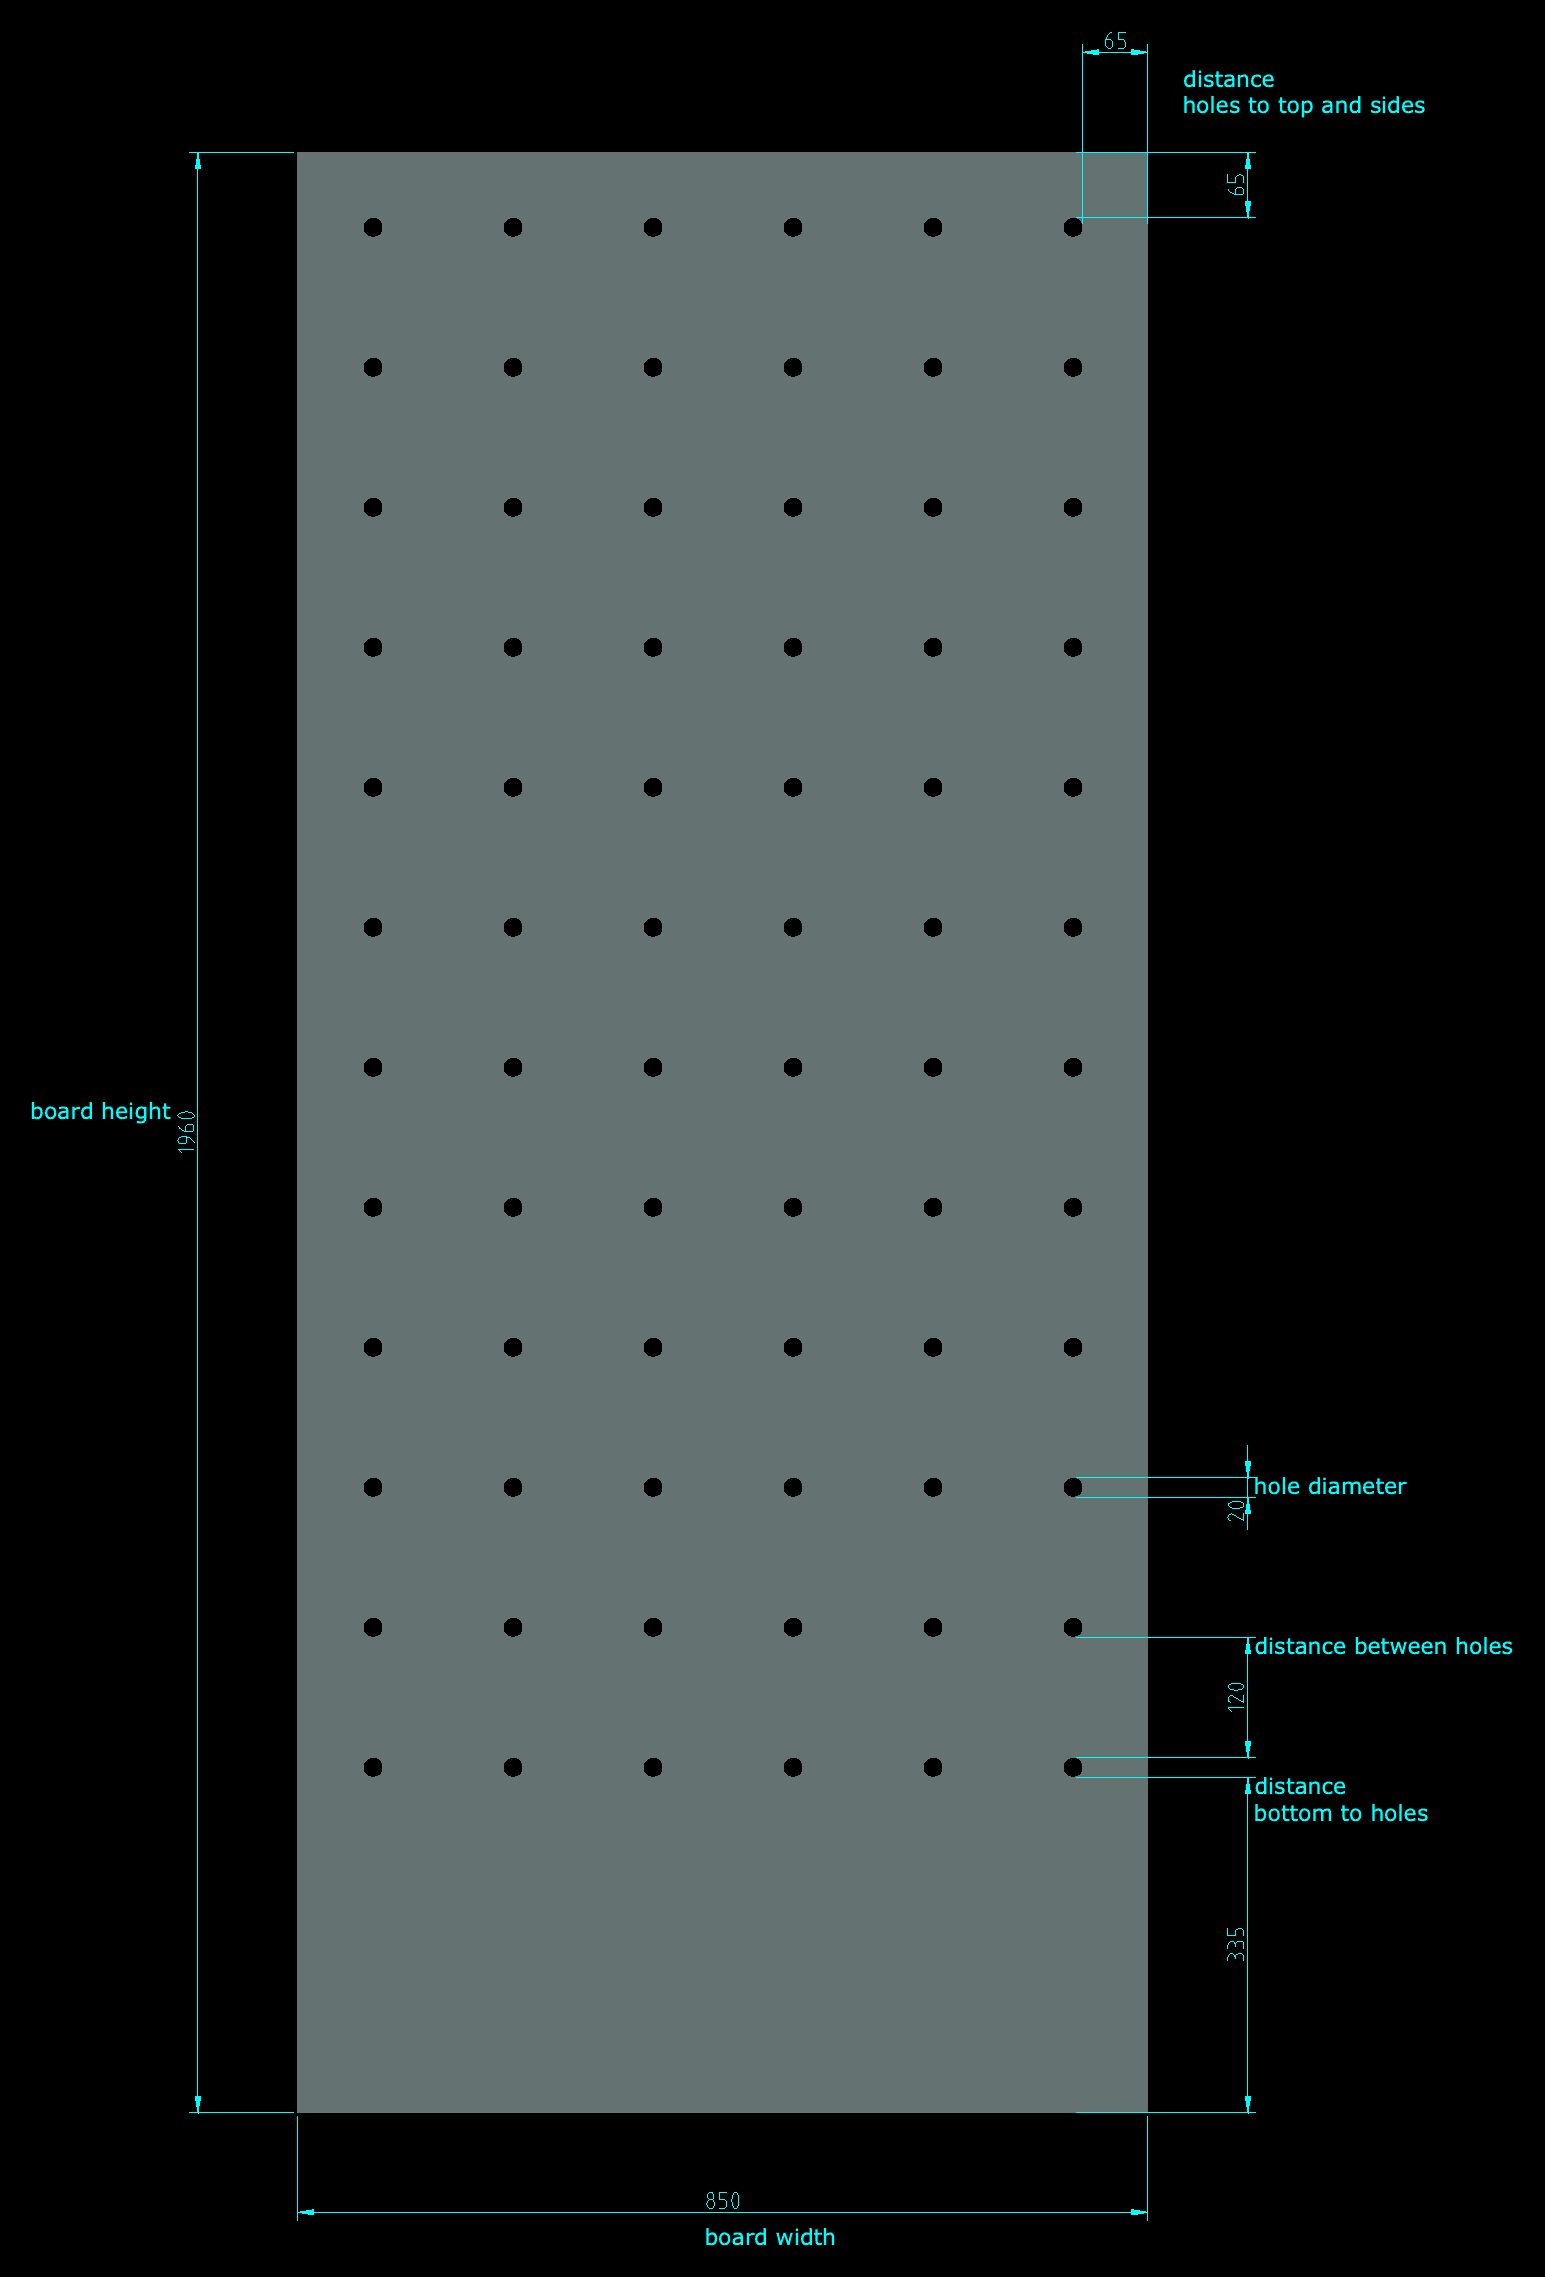
- Hole Diameter
- 20mm
- Distance between holes
- 120mm
- Distance from holes to edge of boards
- 65mm
- Depth of the shelves
- 80mm
The size of the hole is chosen just because it is a nice rounded number, and I am trying to achieve a graphical look with thick dowels. But turned out 20mm dowels does not fit 20mm holes, the friction is just too high. I had to manually shave a significant amount of material of from the dowels. Next time I will try get 19mm dowels.
The distance between the holes are chosen by playing around with Auto Layout in Figma... Even if the holes across boards will have an extra centimeter between them, it is not going to be a big problem because the boards are going to be significantly longer.
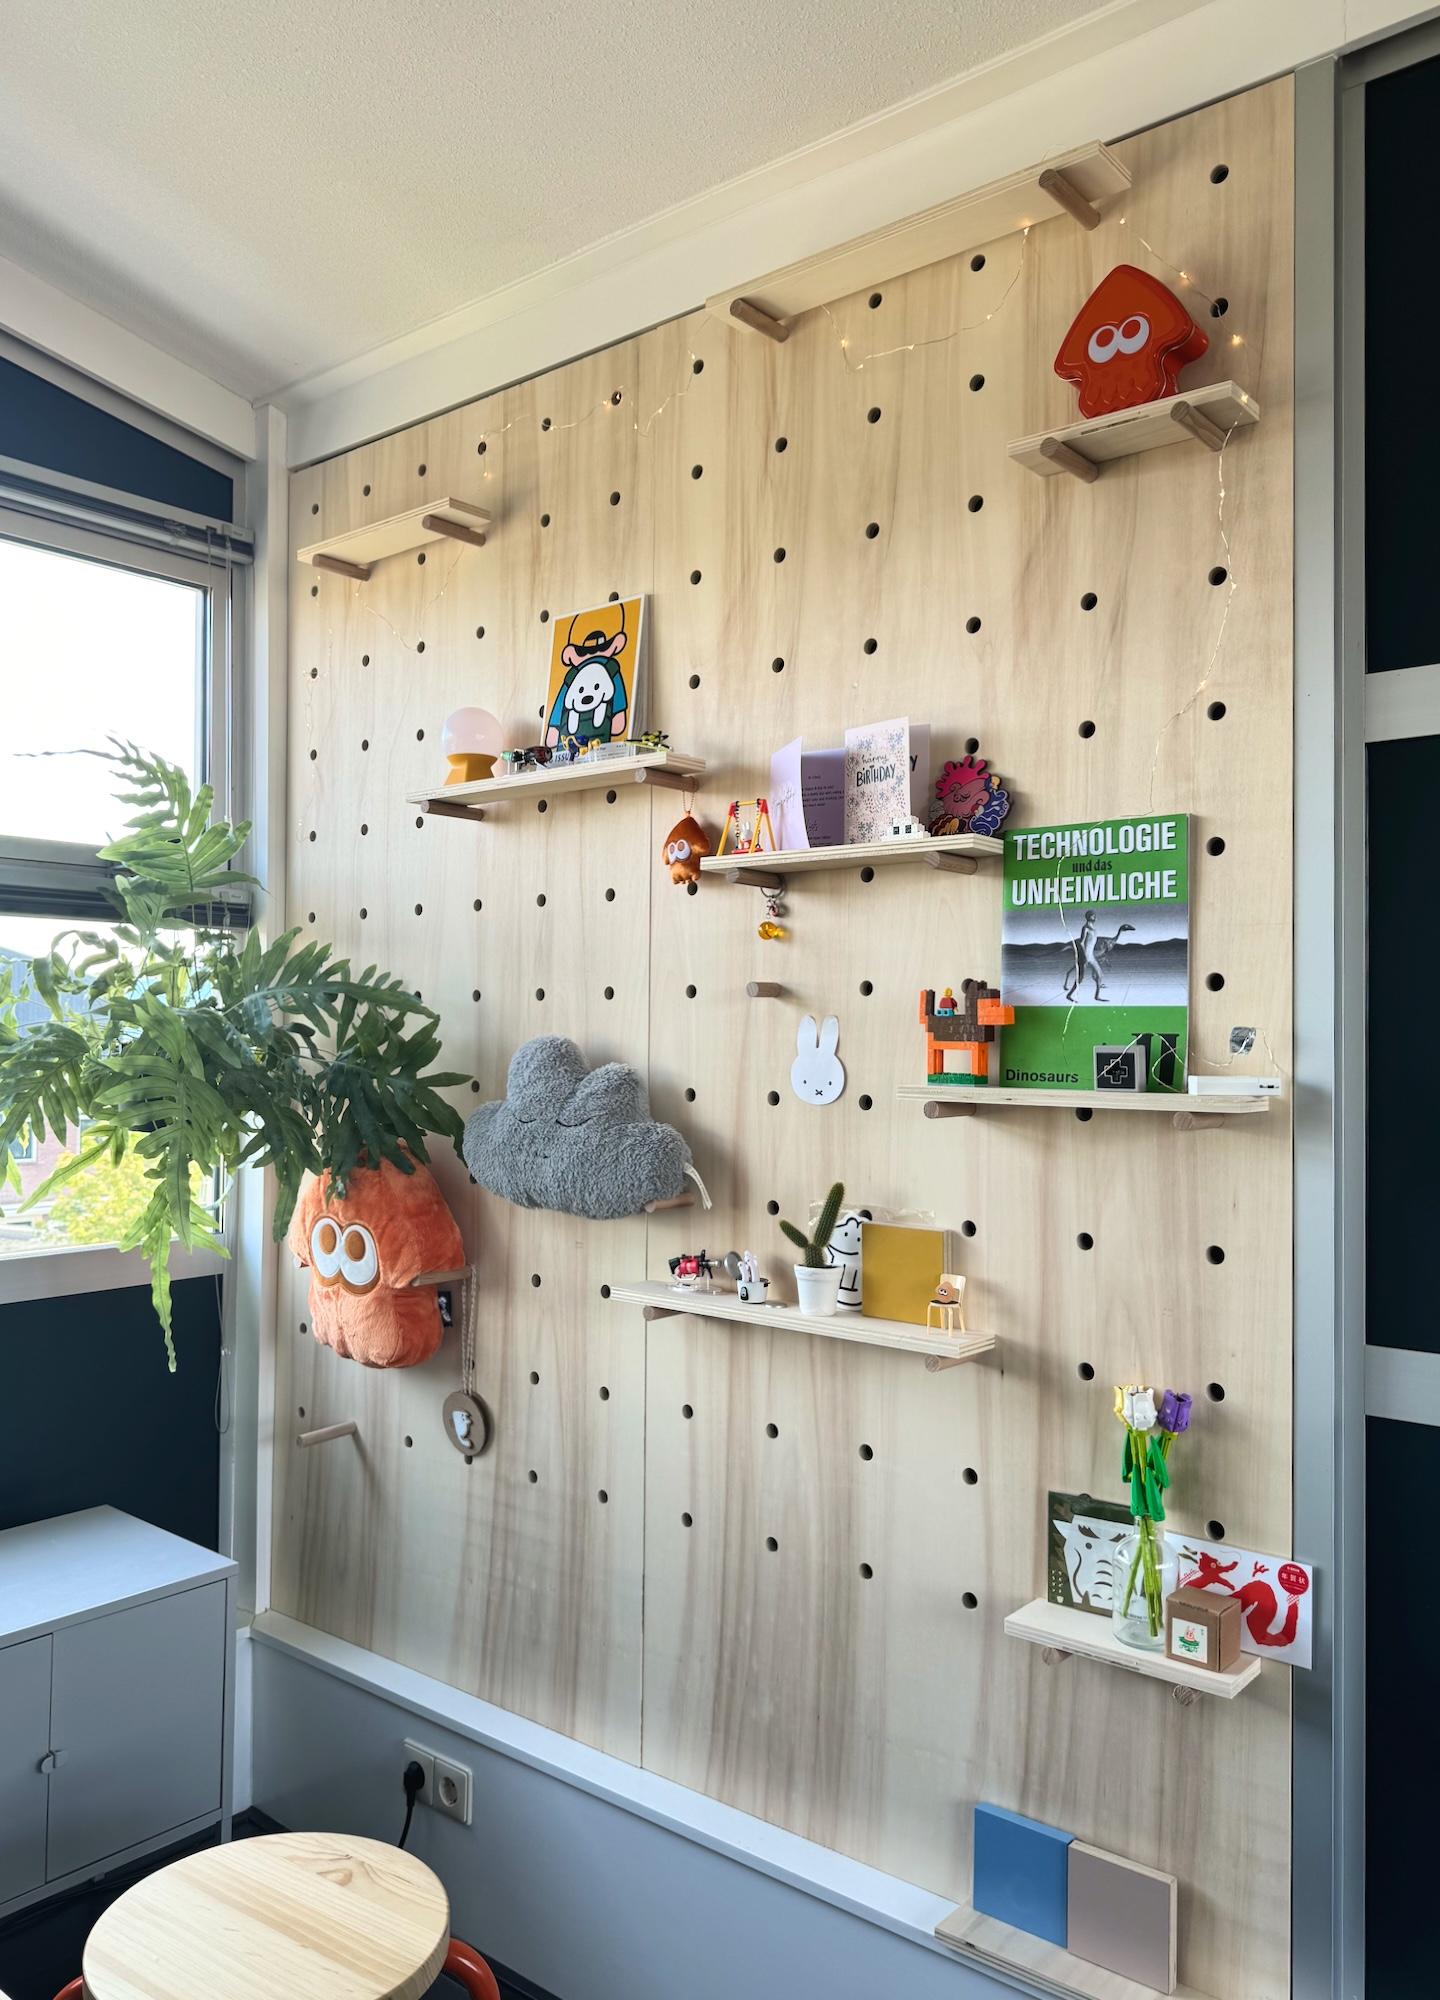
80mm depth shelves are chosen because there will be seats in from of the boards, and the boards can go quite low. However, 80mm turned out to be tricky to use in practice, some slightly larger decorations will require the shelves to have some distance to the boards. Eventually I just cut the dowels much longer, preparing for future iteration of selves with 120mm depth.
Production
Sourcing the board exactly in the right dimension is quite easy with services like opmaatzagen.nl. But the real challenge is in drilling the holes.
I found a few Youtube videos about making these type of pegboards. Such as this comprehensive one from Get Hands Dirty. However I am not ready to invest a few hundred euros in a drill press, forstner drill bits, and time lay the plan out carefully on delivered boards.
I eventually found a local service called CNC Zwolle, I sent my drawing over and happily realized this option is not more expensive than doing it all by myself with proper equipments.
Learnings and next iteration
- Board Thickness: 15mm is strong enough, 18mm is standard.
- Plywood does visibly bend over time due to changing environment conditions (e.g. temperature, humidity).
- Choose birch plywood for a more refined plywood look. The edge of poplar plywood still have some uneven dark patches that some people might find disturbing. But it is also denser and will result in heavier weight.
- Dowels with diameter from 16mm to 19mm seems to be the easiest to source. I found my 20mm dowels also on Amazon but it is significantly more expensive for it is used in building fancy wardrobes.
- I over estimate the amount of shelves I needed by 200%. Having 6 shelves around 30cm is already quite sufficient for such large area.
- I probably will consider painting the shelves in a few years.
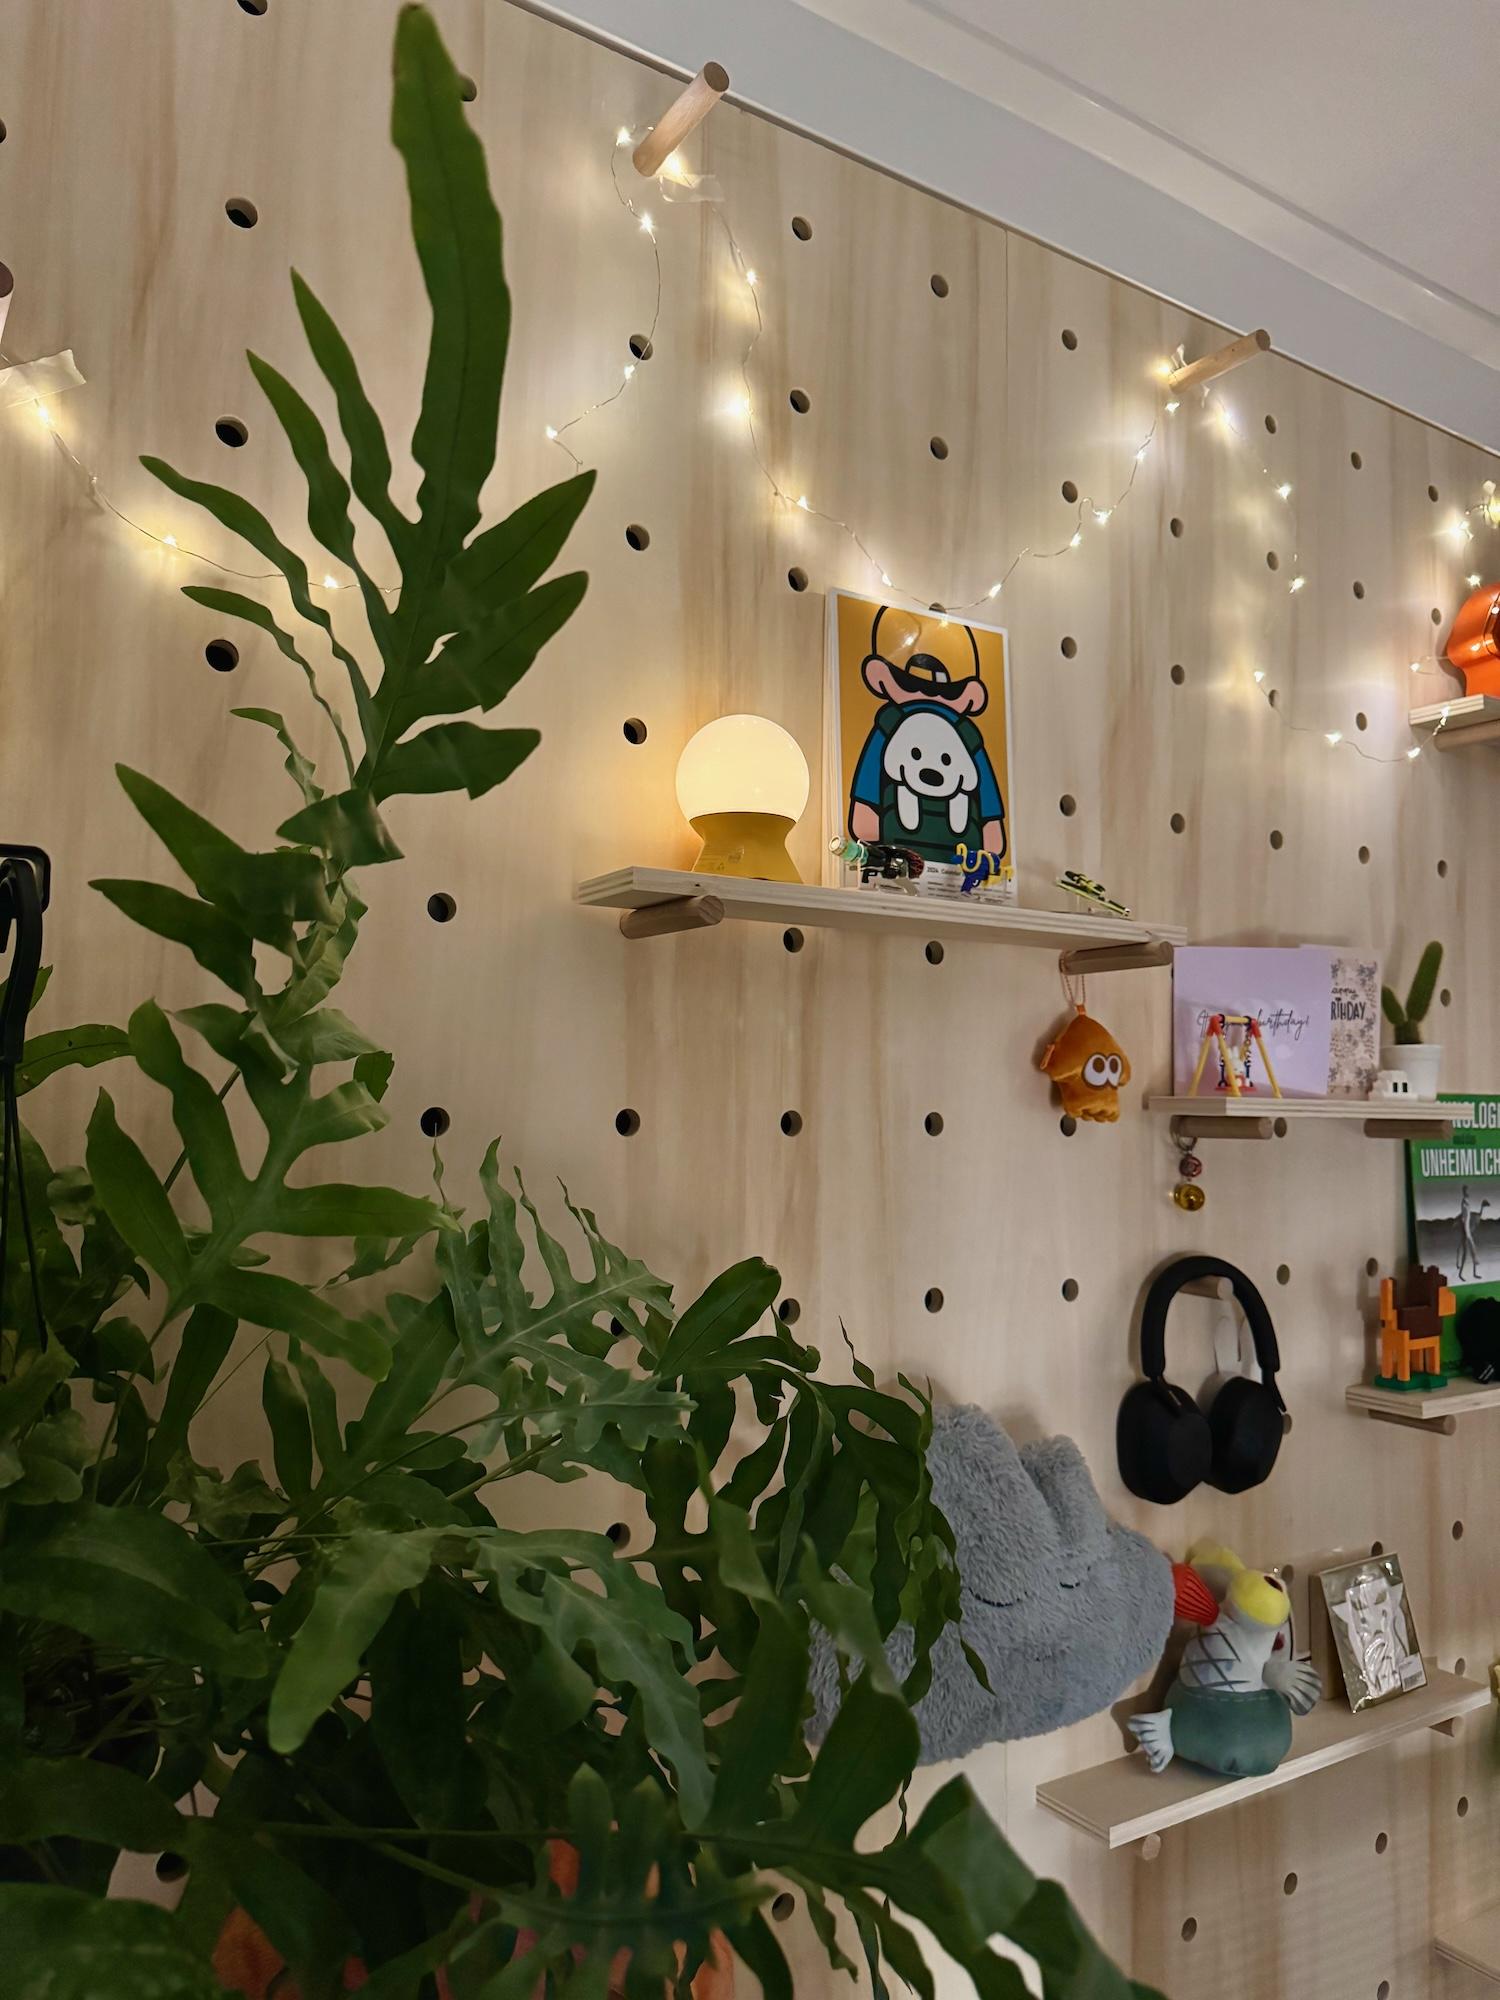
I still have two more sections that can be filled with these pegboards. I am still thinking if I should use the same material across or add some variations. I am also thinking about a few extra components that can be fit onto the pegboard such as a universal hanger for holding headphones, plants, or lamps.
For now it is all back in the ideation phase.